Thursday 18 December 2014

{Recipe} Gingerbread biscuits

Our household loves ginger and with the festive season just around the corner, you see gingerbread men and houses everywhere. And the smell of them! Yum! We made muffins and scones and scrolls the past few weeks and so I thought why not gingerbread bikkies this time. 
This was a great baking activity with a toddler (although watch out! They'll eat all the decorations before they make it onto the biscuits). Without further ado, here is the recipe (oh after the pictures):

Gingerbread biscuits (makes about 20 large biscuits)


Ingredients:


125 g unsalted butter (softened)
1/2 cup sugar
1/2 cup molasses
1 large egg
2 1/2 cups bread flour
1/2 tsp baking soda
1/2 tsp baking powder
pinch of salt
1 tsp ground ginger
1 tsp ground cloves
1 1/2 tsp ground cinnamon
1/2 tsp nutmeg
  1. In a large mixing bowl, mix butter, sugar and molasses with a wooden spoon.
  2. Add egg and mix vigorously.
  3. In another bowl, mix flour, baking powder, soda, salt and spices.
  4. Gradually add the flour mixture to the butter mixture.
  5. Refrigerate until dough is cold (about 10 minutes).
  6. Preheat the oven to 180°C (170 fan-forced) while your dough is in the fridge.
  7. Roll out dough to about 5mm thick and cut out shapes with cookie cutters.
  8. Place on lined baking sheets and bake for 10-12 minutes.
  9. Cool completely and decorate with royal icing, chocolate buttons or whatever else you fancy.


Tips and notes:

I use bread flour for cookies for chewiness. I don't sift flours for cookies, just the baking powder and baking soda.
I don't cream butter and sugar when making cookies because I find that they spread too much if I do. If you want to prevent spreading even more, omit baking powder and soda.
My current oven is quite hot and I almost burnt my biscuits so watch out so they don't become too hard if overbaked.

Royal icing: 

Whisk one egg white with 2 cups sifted pure icing sugar. Add more sugar if it's too thin and water by half teaspoonfuls if too thick.

Add a squeeze of lemon, vanilla extract, etc. for some flavour if you would like (would thin consistency).

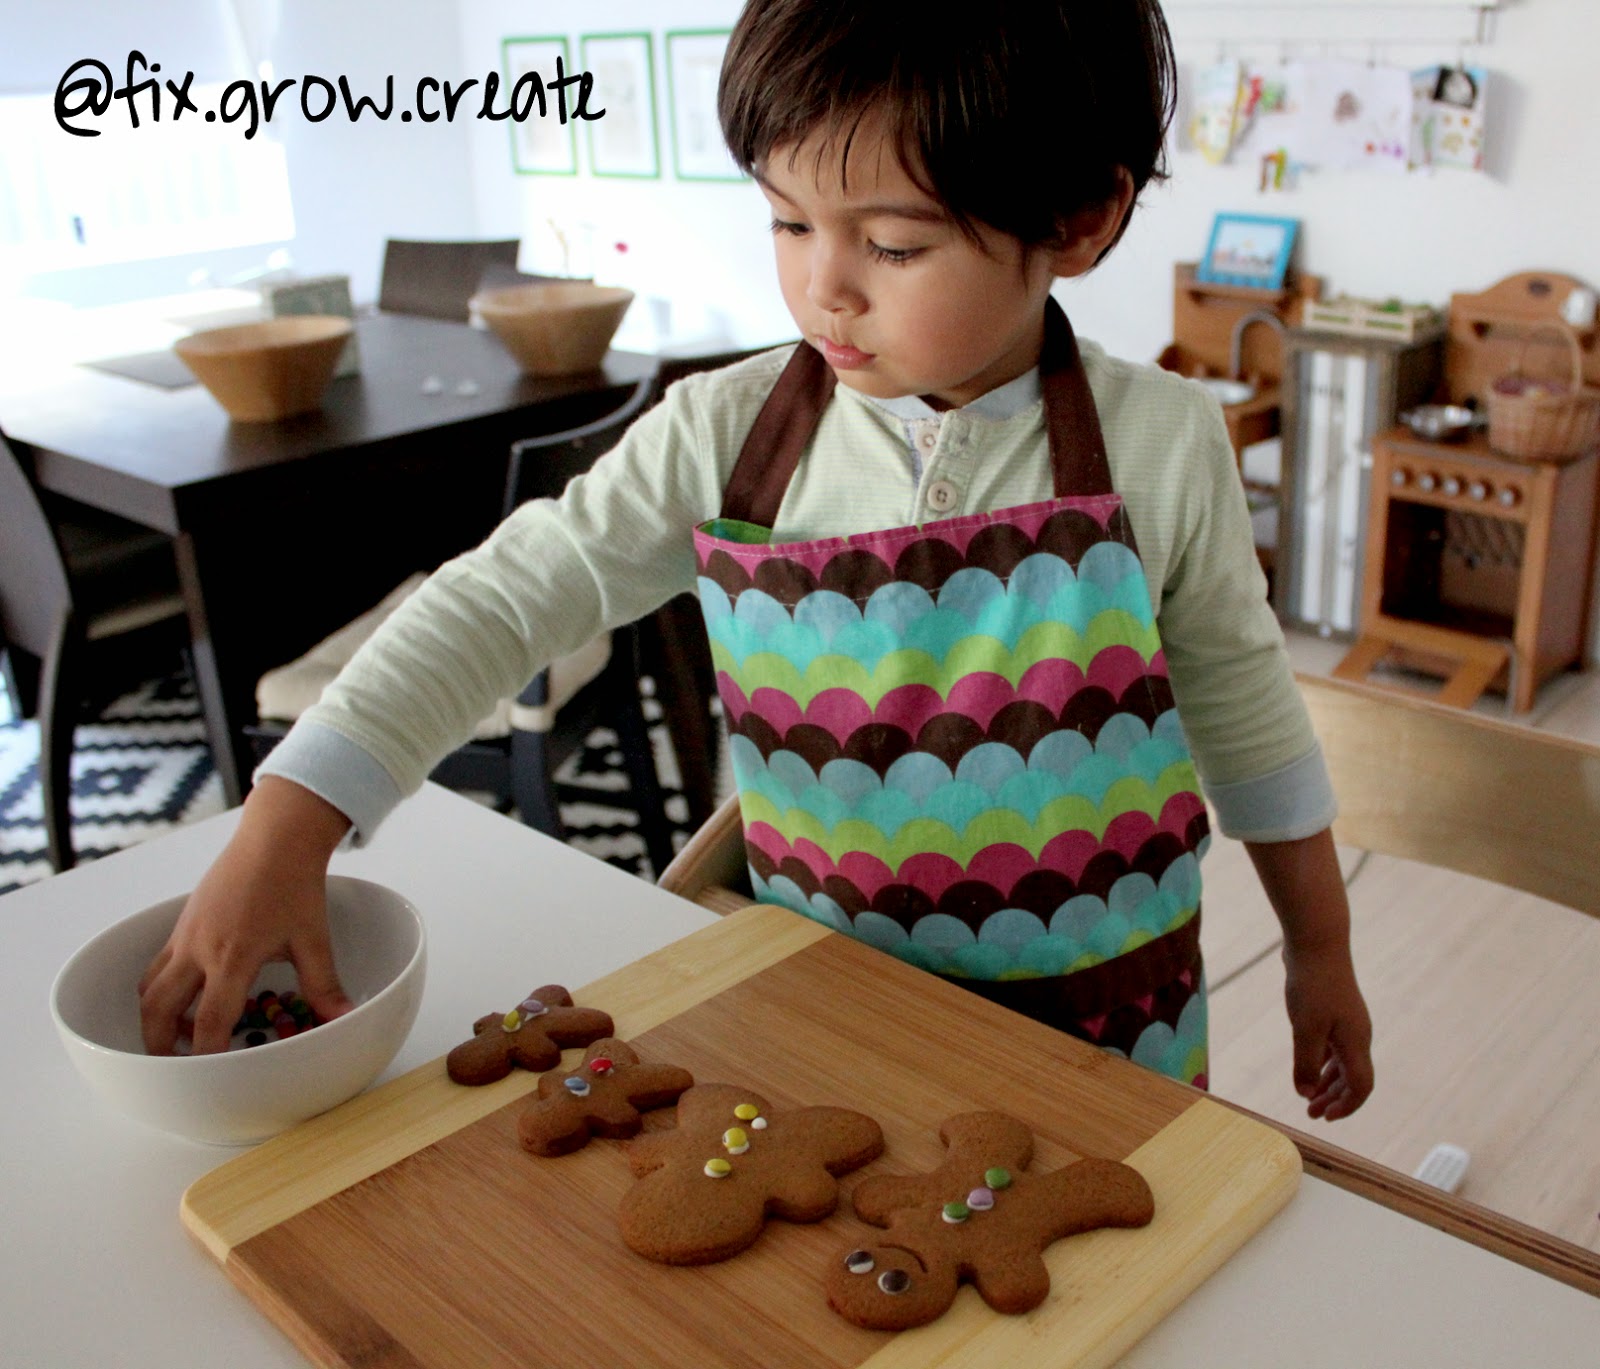
Umar decided to cut his dough into numbers instead and so we took out the number cutters and I ended up with tens of cutters to wash. He had a couple of biscuits before they were decorated and a few little ones while decorating. And I found almost half of my chocolate buttons gone when I went to get my biscuits off the other bench.

The taste is not overly sweet so those with a sweet tooth might want to amp up the royal icing decoration to make up for the sugar, although hopefully not by much! I hope your family will enjoy these biscuits as much as we do!

Thank you for stopping by!

Honoured to share this post on:

Montessori Monday

Tuesday 16 December 2014

Welcome!

Hello family and friends and newcomers!
This first post marks another part of my life that needs organising; online content! I have several blogs which I will comb through. I will pick out relevant posts and categorise and post them here over the next coming weeks. I will try to balance old and new content as the transfer occurs.

The name of the blog loosely suggests what it is all about. Because trust me, it will really be about everything, not just DIY projects, parenting, learning and recipes. It truly will be a writing outlet for me. So you might not enjoy everything I have to share with you but you might find a few things you do.

Okay, now to explain about some of the things I'll be writing about. A lot of the posts will be about Montessori-inspired learning and environment. I discovered Montessori principles when my now not-so-little boy, Umar, was about six months old.

First baby boy
Umar tends to toss and turn A LOT in his sleep and he takes up the whole bed when he's settled in his favourite position which requires his arms to be fully spread out, yes, much like a starfish. He slept in a bassinet next to our bed until he was about 3 months and grew out of the thing. We then co-slept with him and soon found that he needed plenty of space. At six months, we moved him to his cot in his own room. I then discovered that because he rolled so much, he woke up from his arms hitting the sides of the cot. The first thing I thought was, he needs a queen-sized cot. But of course, that was not a cheap and easy solution. Then, ding! the bulb lit up in my head. What if I put his mattress on the floor. Since he'd started being more mobile, that'd be great for his independence too.

Onto Google I went for 'mattress-on-the-floor' inspirations and bam! the first picture that caught my eyes was one by Meg from Sew Liberated. I think I thought I'd be the first to think of having a nice floor mattress but... Anyway, so that's where it all started. I read up on Montessori after that, bought a few books and set up our home to be as Montessori-inspired as possible.

I'm still terrible at not offering help as Montessori principle encourages as much independence in as safety allows. And I do get frustrated when he takes too long to get a job done or when he insists on working with me when I am in a hurry. He is a very determined and opinionated child and sometimes can be absolutely domineering and makes me feel like a failure of a parent when he refuses to do as I tell him to. I'm sure that just comes with the territory though.
New baby boy
I digress, we are six months pregnant with another boy at the moment and I hope to provide a Montessori-inspired environment for him from birth. I have a few simple DIY projects in mind in the coming weeks related to this and I hope to share them with you.

Umar and I also have at least one baking day a week and we usually make something different each time so look forward to the toddler help-friendly recipes! There is also a shop tab on this blog that will lead you to our online shop where we stock some Montessori-related items that we use and also fun and stimulating toys.

Lastly, the blog will most probably carry various reviews and recommendations on books and games (PC, board and everything in between).

You can email me at fixgrowcreate@outlook.com with any queries. Please let me know if you find reading this font annoying or if there is any other issues.

So, again welcome and I hope you will be staying!