Showing posts with label toddlers. Show all posts

Monday, 31 July 2017

{Printable} Paper cutting and Lego tray


 Paper cutting tray

Last night, Dr B took a pair of scissors and started cutting a strip of adhesive backing that he found. So I believe it’s time to bring out cutting strips. With USB I used to just print out blank squares and rectangles in the beginning. But I saw the colourful themed strips on Deb’s Living Montessori Now blog and thought I’d make one too. I just picked some royalty-free images of the cars Dr B likes and made the strips and printed them out.

I then prepared the cutting tray. I placed the strips on top, a pair of scissors on the left side (to reinforce writing movement from left to right if you use the Latin alphabet) and a small bowl to put the cuttings in. 

I presented the tray to Dr B, demonstrating to him how I picked up one strip of paper and handed it to my left hand, picked up the scissors, cut and placed the photos in the bowl. Dr B would sit and watch with his hands on his lap (it took many many times until he finally understood the need to sit still while observing 😅).

When he was done with his tray, I put the cuttings alongside art supplies to be used in collages and other artwork. 

Here is the link to the car cutting strip printable: Cars

Lego tray


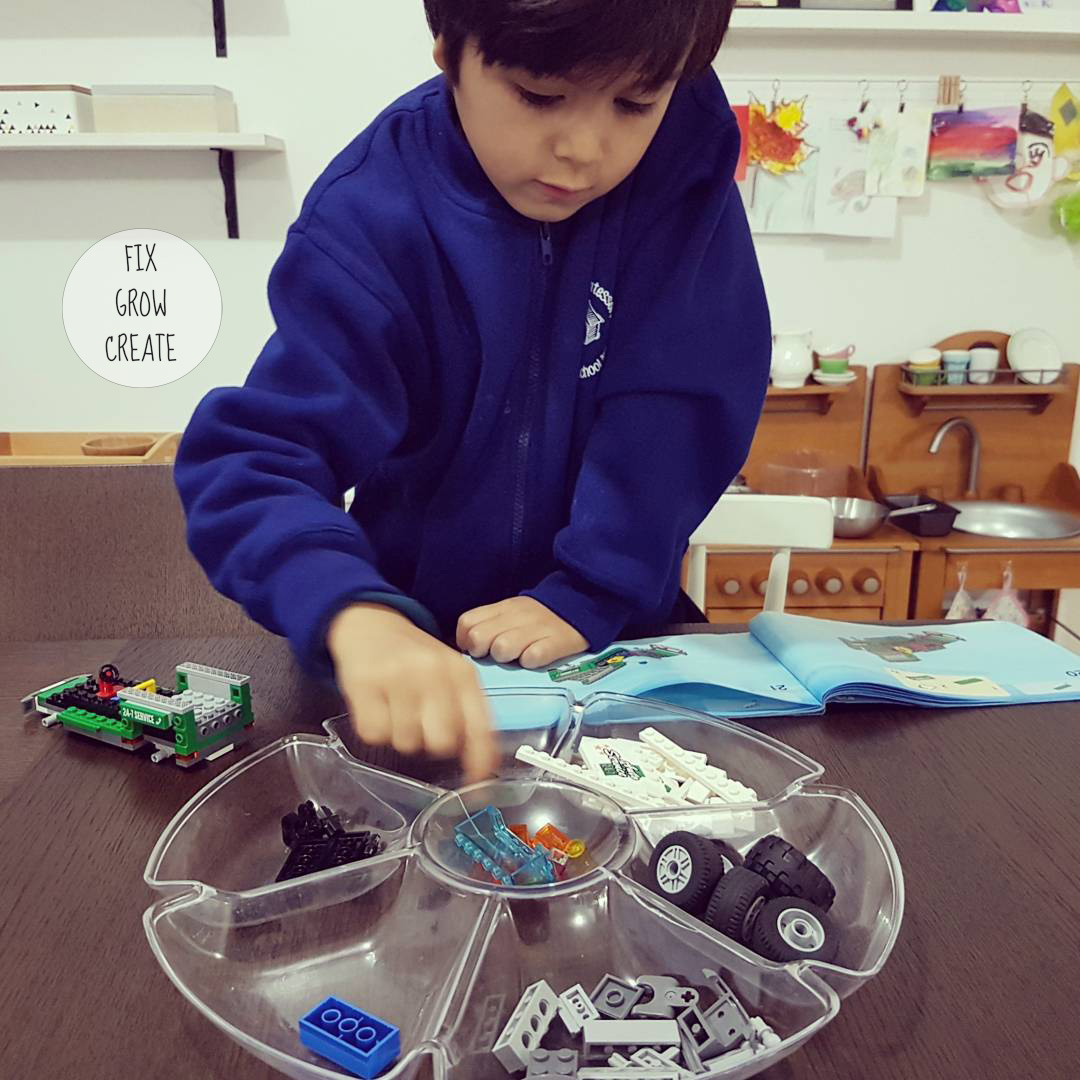
USB is currently obsessed with Lego so I decided to make a Lego tray for him. This way, when he is done building something, he can put it on his shelf and then I can rotate with other sets.

I prepared the tray by putting the instructions and a container of the corresponding Lego pieces on the left-hand side and the sorting tray on the right-hand side. 

He sorted the pieces by colour and proceeded with building following the instruction booklet.

Thank you for stopping by!

If you use the printable, please leave a comment and link back to the blog :)

Please follow our instagram account: @fix.grow.create


Monday, 20 April 2015

{Art and craft} Edible paint

A repost from my old blog horrendezvous.blogspot.com 

Babies and toddlers put everything in their mouths so this quick and easy recipe is great for when you need an activity to occupy the little ones outdoors or even in the bathtub!


Ingredients

1 tbsp sugar
1/2 cup flour
2 cups water
Food colouring
5-6 glass jars (I reused baby food jars)

  1. In a small saucepan, mix sugar and flour. 
  2. Gradually whisk in water. 
  3. Turn heat on low and keep whisking until mixture becomes thick and, gooey. This should take about 5-10 minutes, no need to boil.
  4. Divide into jars.
  5. Add a few drops of food colouring in each and mix. I used the handle of a spoon. 
  6. Leave to completely cool and let the little tike have fun! 
We set up our 'art centre' in the back patio with old towels on the ground in anticipation of the mess but the bathtub would have been great too as you could just wash the bub off right away and extend the 'art' session!

Enjoy! Ta ra~

Saturday, 10 January 2015

{Book review} 'New Baby' book series

In trying to help Umar adjust to soon not being the centre of the universe (ours anyway), we've been talking to him about the new baby and taking him to all the doctor's appointments and scans. He loves listening to the baby's heartbeat, not so much feeling the baby move in my belly though, 'that's freaky', he says. I've also bought books from the 'New Baby' series which are illustrated by Rachel Fuller. There are four in the series but I bought the first three as I thought they were the most relevant at the moment.
 
These books are simply worded, with short sentences and are meant to foster discussion between the parent and child.
    1. Waiting for baby - the first book chronicles a young child's anticipation in acquiring a new member of the family. Umar has been quoting lines from this one, especially when we're out shopping, he asks 'should we get this for baby?'. This one is definitely his favourite of the three, maybe because he's undergoing the same situation.
    2. My new baby - next, the baby has come! What does/can he do? How do we react to him? Let's welcome him to the family!
    3. You and me - baby has grown a bit and can join in and play! But sometimes he does things you don't like... A look at the interaction between older and younger siblings.
    4. Look at me! - we don't have this one but I intend to get it later on. I think this book will probably talk about how attention gets divided between siblings.
I think that these books are great in transitioning an only child into an older sibling but of course I will update this review when we're actually facing the real deal.

If you have these books, let me know if they've helped or if you have other recommendations.

Thank you for stopping by!

Thursday, 8 January 2015

{Recipe} Basic pancakes

Apologies for the quietness, time just flew by! I hope it's not too late to wish a happy new year to everyone!

This is our go-to recipe every weekend (and some weekdays). I think I saw it on a Jamie Oliver cooking show but I have tweaked it to suit our needs. I've used different kinds of flours and they pretty much turned out great every time. And of course, the kiddies can join in too as it's a fairly easy recipe to prepare the ingredients ahead for them. Umar loves the pouring and mixing involved.

Basic pancakes recipe (makes about 12 good-sized pancakes)

Ingredients:

1 cup self raising flour*
1 large egg
1 cup milk
1 tsp vanilla essence (optional)

*I have substituted with plain flour/wholemeal flour plus 1/2 tsp baking soda and 1/2 tsp baking powder. I have also tried different brands of flour. The fluffiest pancakes I've made so far were using Lighthouse self-raising flour.

Simply multiply recipe for bigger serves.
  1. Place flour in a medium bowl. Crack the egg in the middle and whisk.
  2. Gradually add in milk and essence and whisk until thoroughly mixed.

     
  3. Leave for 5-10 minutes for the raising agents to work their magic.
  4. In the meantime, heat up your pans (I usually put a few on so I can cook through a few pancakes at once.)
  5. Start cooking! (I put the pancake mix in a condiment bottle with the opening widened (cut) a tad more to get nice round pancakes)
  6. When the top bubbles, it's time to flip and a minute more and your pancakes are ready!
  7. Serve with fresh fruit/berries, butter and plenty of maple syrup, yum!

 Thank you for stopping by!


Thursday, 18 December 2014

{Recipe} Gingerbread biscuits

Our household loves ginger and with the festive season just around the corner, you see gingerbread men and houses everywhere. And the smell of them! Yum! We made muffins and scones and scrolls the past few weeks and so I thought why not gingerbread bikkies this time. 
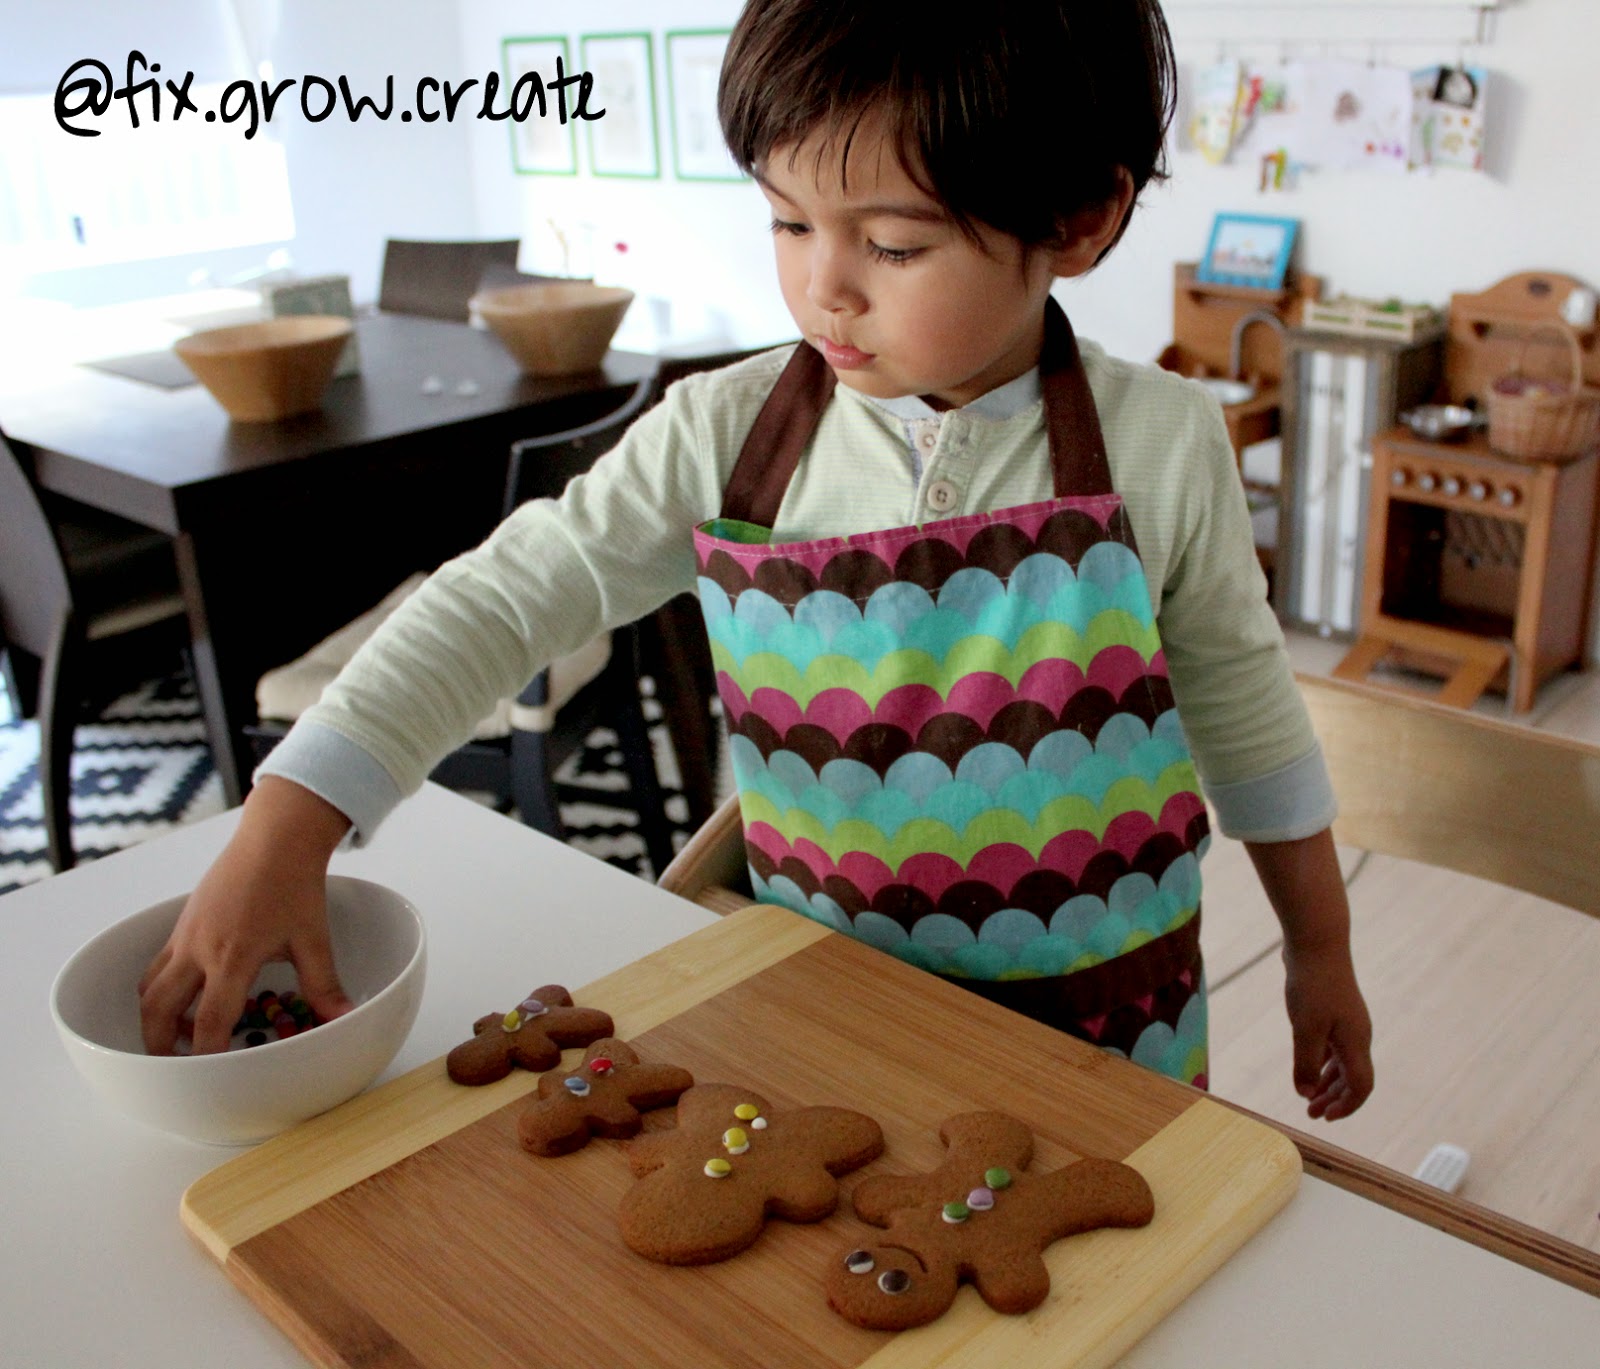
This was a great baking activity with a toddler (although watch out! They'll eat all the decorations before they make it onto the biscuits). Without further ado, here is the recipe (oh after the pictures):

Gingerbread biscuits (makes about 20 large biscuits)


Ingredients:


125 g unsalted butter (softened)
1/2 cup sugar
1/2 cup molasses
1 large egg
2 1/2 cups bread flour
1/2 tsp baking soda
1/2 tsp baking powder
pinch of salt
1 tsp ground ginger
1 tsp ground cloves
1 1/2 tsp ground cinnamon
1/2 tsp nutmeg
  1. In a large mixing bowl, mix butter, sugar and molasses with a wooden spoon.
  2. Add egg and mix vigorously.
  3. In another bowl, mix flour, baking powder, soda, salt and spices.
  4. Gradually add the flour mixture to the butter mixture.
  5. Refrigerate until dough is cold (about 10 minutes).
  6. Preheat the oven to 180°C (170 fan-forced) while your dough is in the fridge.
  7. Roll out dough to about 5mm thick and cut out shapes with cookie cutters.
  8. Place on lined baking sheets and bake for 10-12 minutes.
  9. Cool completely and decorate with royal icing, chocolate buttons or whatever else you fancy.


Tips and notes:

I use bread flour for cookies for chewiness. I don't sift flours for cookies, just the baking powder and baking soda.
I don't cream butter and sugar when making cookies because I find that they spread too much if I do. If you want to prevent spreading even more, omit baking powder and soda.
My current oven is quite hot and I almost burnt my biscuits so watch out so they don't become too hard if overbaked.

Royal icing: 

Whisk one egg white with 2 cups sifted pure icing sugar. Add more sugar if it's too thin and water by half teaspoonfuls if too thick.

Add a squeeze of lemon, vanilla extract, etc. for some flavour if you would like (would thin consistency).

Umar decided to cut his dough into numbers instead and so we took out the number cutters and I ended up with tens of cutters to wash. He had a couple of biscuits before they were decorated and a few little ones while decorating. And I found almost half of my chocolate buttons gone when I went to get my biscuits off the other bench.

The taste is not overly sweet so those with a sweet tooth might want to amp up the royal icing decoration to make up for the sugar, although hopefully not by much! I hope your family will enjoy these biscuits as much as we do!

Thank you for stopping by!

Honoured to share this post on:

Montessori Monday