Paper cutting tray

Last night, Dr B took a pair of scissors and started cutting
a strip of adhesive backing that he found. So I believe it’s time
to bring out cutting strips. With USB I used to just print out blank squares
and rectangles in the beginning. But I saw the colourful themed strips on Deb’s
Living Montessori Now blog and thought I’d make one too. I just picked some
royalty-free images of the cars Dr B likes and made the strips and printed them
out.
I then prepared the cutting tray. I placed the strips on
top, a pair of scissors on the left side (to reinforce writing movement from
left to right if you use the Latin alphabet) and a small bowl to put the
cuttings in.
I presented the tray to Dr B, demonstrating to him how
I picked up one strip of paper and handed it to my left hand, picked up the
scissors, cut and placed the photos in the bowl. Dr B would sit and watch with
his hands on his lap (it took many many times until he finally understood the
need to sit still while observing 😅).


When he was done with his tray, I put the cuttings alongside
art supplies to be used in collages and other artwork.
Here is the link to the car cutting strip printable: Cars
Lego tray

USB is currently obsessed with Lego so I decided to make a Lego tray for him. This way,
when he is done building something, he can put it on his shelf and then I can
rotate with other sets.

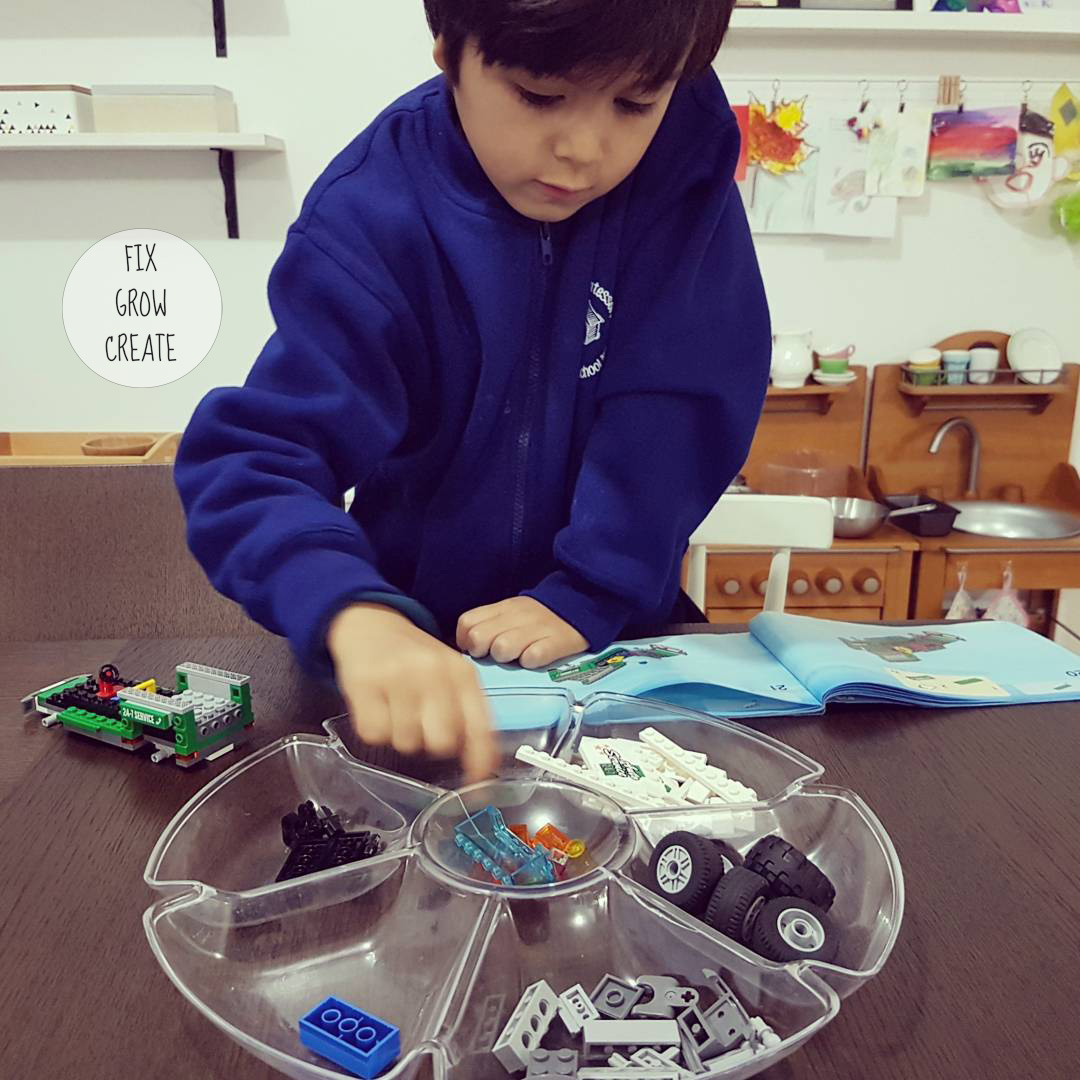
I prepared the tray by putting the instructions and a
container of the corresponding Lego pieces on the left-hand side and the
sorting tray on the right-hand side.

He sorted the pieces by colour and proceeded with
building following the instruction booklet.
Thank you for stopping by!
If you use the printable, please leave a comment and link back to the blog :)
Thank you for stopping by!
If you use the printable, please leave a comment and link back to the blog :)
Please follow our instagram account: @fix.grow.create